FOLLOW US ON OUR NEW FACEBOOK PAGE FOR WEEKLY SPECIALS AND PROMOTIONS
A Southtowns Tradition Since 1977
Our family has a long-standing tradition of making the perfect pizza. Call us, stop in, or place your order online today, and you’ll never wonder where to go next time.
Your Favorite Pizza Shop
Serving Blasdell, NY & Beyond
They’ll tell you it’s easy. They’ll tell you there’s no question.
They’ll tell you it’s Blasdell Pizza.
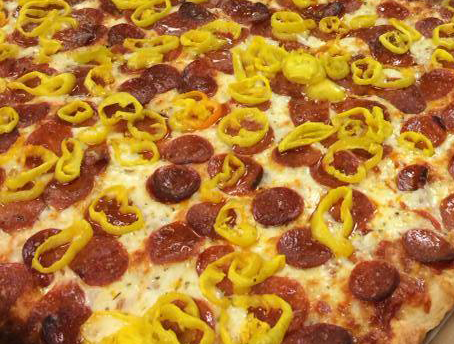
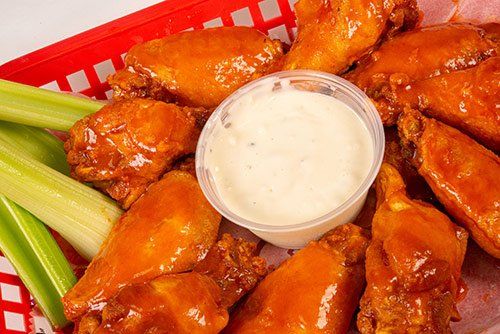
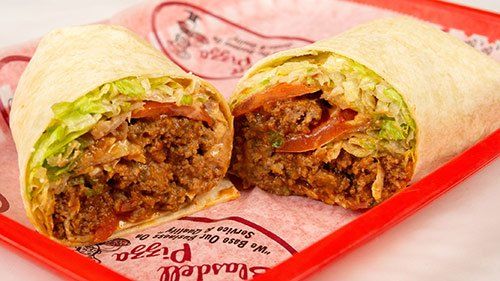
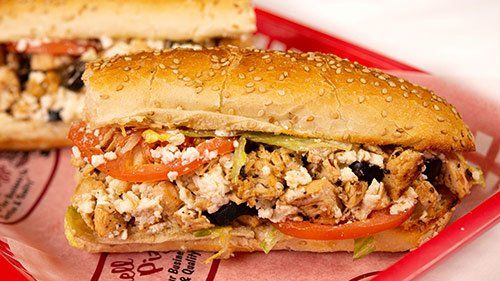
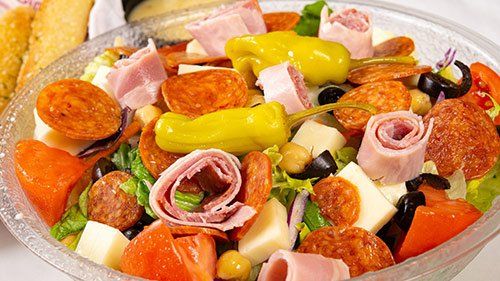
Finding your favorite go-to neighborhood pizza shop can be a challenge. The good news is the people of Buffalo, Dunkirk, Hamburg, Lakeview, and Blasdell, NY know Blasdell Pizza serves up the perfect pie. Plus, we have a lot more than just pizza — our menu is complete with wings, subs, tacos, daily specials, etc., also get the good neighbor stamp of approval.
Contact our steak hoagie restaurant today to place an order or order pizza online! We are proud to be the premier pizzeria in the WNY area, offering daily pizza and lunch
specials.

Our Daily Pizza and Lunch Specials!
Eat Up!
SERVING SAVORY EATS TO SOUTHTOWNS
What makes Blasdell Pizza the best pizza shot in the area? The secret to our success is simple — people know they can expect delicious food and excellent service. Customers have come to crave our traditional homemade sauce, along with our fresh-cut cheese, pepperoni, and other natural ingredients
